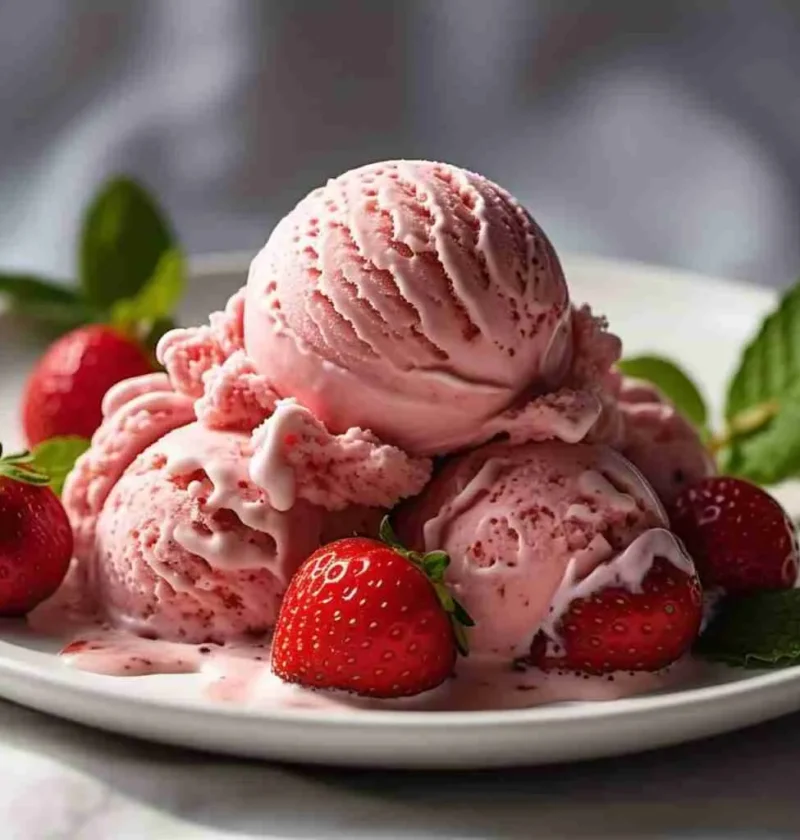
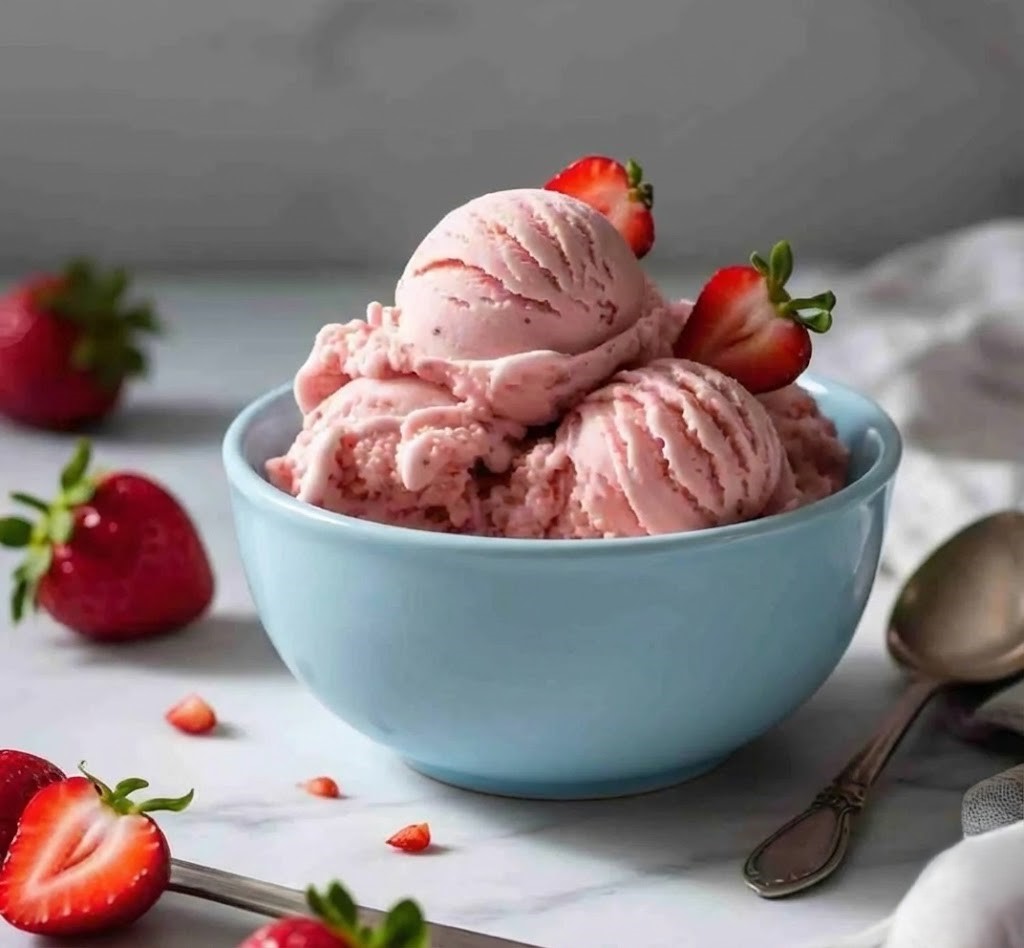
There’s something special about Homemade Strawberry Ice Cream that makes me smile every single time I scoop it. I love how fresh, fruity, and creamy it tastes, especially on warm days when I want something sweet and refreshing.
When I make this ice cream at home, I feel like I’m sharing a little moment with you because it’s one of those simple treats that always brings joy. You can enjoy it after dinner, on a relaxing weekend, or whenever you’re craving a cold dessert with real strawberry flavor.
What I adore most is that this recipe uses real strawberries, so every bite tastes like summer. It’s easy, comforting, and perfect for anyone who loves a classic frozen dessert made with simple ingredients. Whether you’re new to making ice cream or already love homemade desserts, this recipe is something you’ll want to make again and again.
Quick Recipe Info
| Feature | Details |
|---|---|
| Calories (per serving) | ~210 |
| Protein | 3g |
| Carbs | 24g |
| Gluten-Free | Yes |
| Vegan | No |
| Dairy-Free Option | Yes (with coconut milk) |
| Sugar-Free Option | Yes (using sweetener) |
| Kid-Friendly | Yes |
| Difficulty Level | Easy |
Why You’ll Love This Recipe
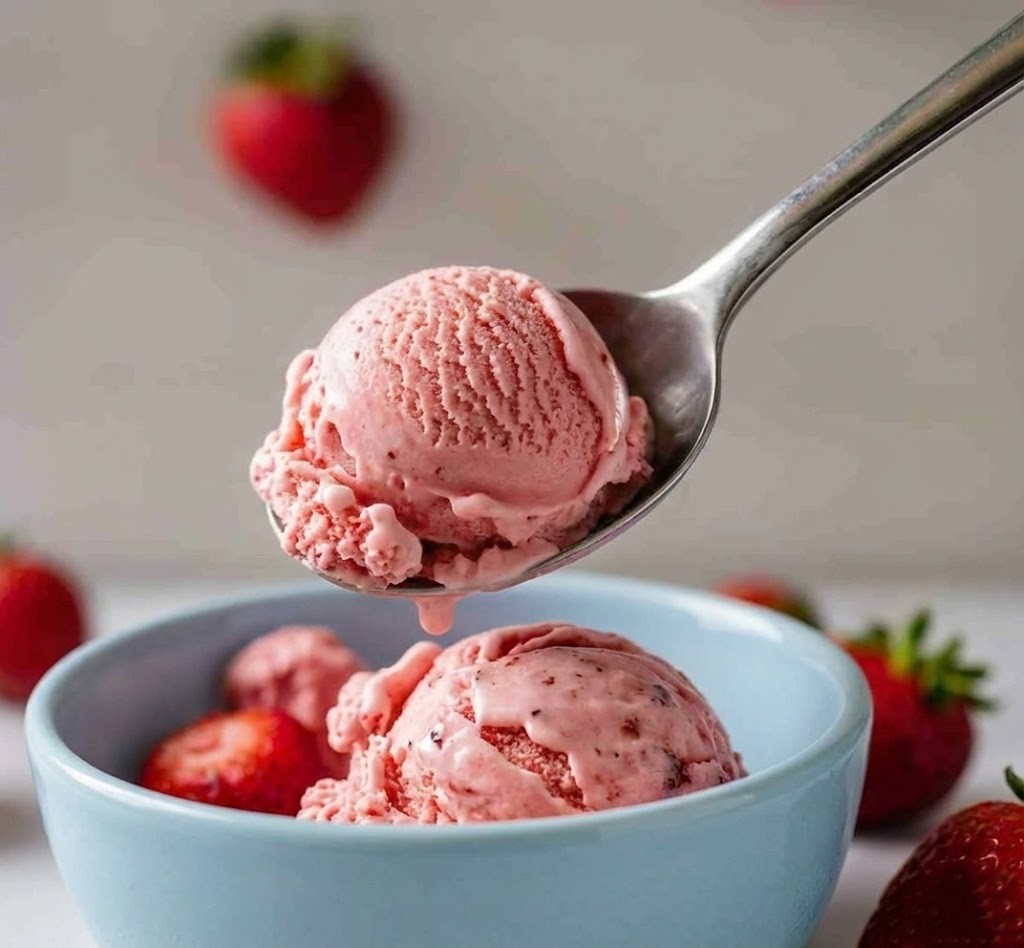
You’ll love this Homemade Strawberry Ice Cream because it tastes incredibly fresh and natural compared to store-bought versions. You get the perfect balance of creamy texture and fruity sweetness in every spoonful.
This recipe is simple, comforting, and perfect for anyone craving something cold and delicious without complicated steps. It’s also very customizable, so you can add mix-ins or adjust sweetness the way you like.
You’ll enjoy that it uses real strawberries rather than artificial flavoring, giving it a pure and bright taste. It’s a dessert that’s easy to make, fun to share, and guaranteed to impress anyone who tries it.
Ingredients to Make Homemade Strawberry Ice Cream
When you gather the ingredients for this ice cream, you’ll notice how basic and simple everything is. Each ingredient plays an important role in giving you a smooth, creamy, and fruity final result.
Strawberries (2 cups, fresh or frozen)
Strawberries give the ice cream its natural pink color and sweet flavor. Fresh berries work best, but frozen ones are great if strawberries are out of season.
Heavy Cream (1 ½ cups)
Heavy cream makes the ice cream rich and silky. It adds thickness and smoothness that helps the ice cream freeze perfectly.
Whole Milk (1 cup)
Milk lightens the mixture so the texture isn’t too heavy. It balances the creaminess and makes the ice cream easier to scoop.
Sugar (¾ cup)
Sugar sweetens the ice cream while also helping with texture. It prevents the mixture from becoming too icy when frozen.
Vanilla Extract (1 teaspoon)
Vanilla enhances the strawberry flavor and adds warmth to the taste. It gives a deeper, more rounded sweetness to the ice cream.
Lemon Juice (1 tablespoon)
Lemon juice brightens the flavors and keeps the strawberries tasting fresh. It also enhances the natural color of the ice cream.
Salt (a pinch)
Salt balances sweetness and brings out the natural flavors. Even a tiny amount makes a noticeable difference in the final taste.
Steps to Make Homemade Strawberry Ice Cream
Making this ice cream is simple and enjoyable, especially when you break it into a few clear steps. Follow each one carefully, and you’ll have a smooth and delicious dessert at the end.
Step 1: Prepare the Strawberries
Start by washing and cutting your strawberries into small pieces so they blend easily. Place them in a bowl, sprinkle in half of the sugar, and let them sit for 10 minutes until they release their juices.
This process softens the berries and makes them naturally sweeter. After that, blend the mixture into a smooth puree, keeping a few small chunks if you like texture.
Step 2: Mix the Base
Pour the heavy cream and whole milk into a large mixing bowl, then add the rest of the sugar. Stir until the sugar dissolves completely, making sure there are no grains left behind.
Add the vanilla extract, lemon juice, and salt to the bowl, mixing everything until smooth. Once combined, stir in the strawberry puree until the color becomes evenly pink.
Step 3: Chill the Mixture
Place the bowl in the refrigerator for at least 1 hour so the mixture becomes very cold. Chilling it helps the ice cream freeze evenly and gives a smooth texture.
This step also makes the flavors settle and blend together beautifully. When the mixture is fully chilled, it will be ready for churning.
Step 4: Churn the Ice Cream
Pour the cold mixture into your ice cream maker and let it churn according to your machine’s instructions. Churning incorporates air into the mixture, giving it that classic creamy consistency.
The ice cream will thicken gradually until it looks soft and fluffy. Once it reaches a soft-serve texture, it’s ready for freezing.
Step 5: Freeze Until Firm
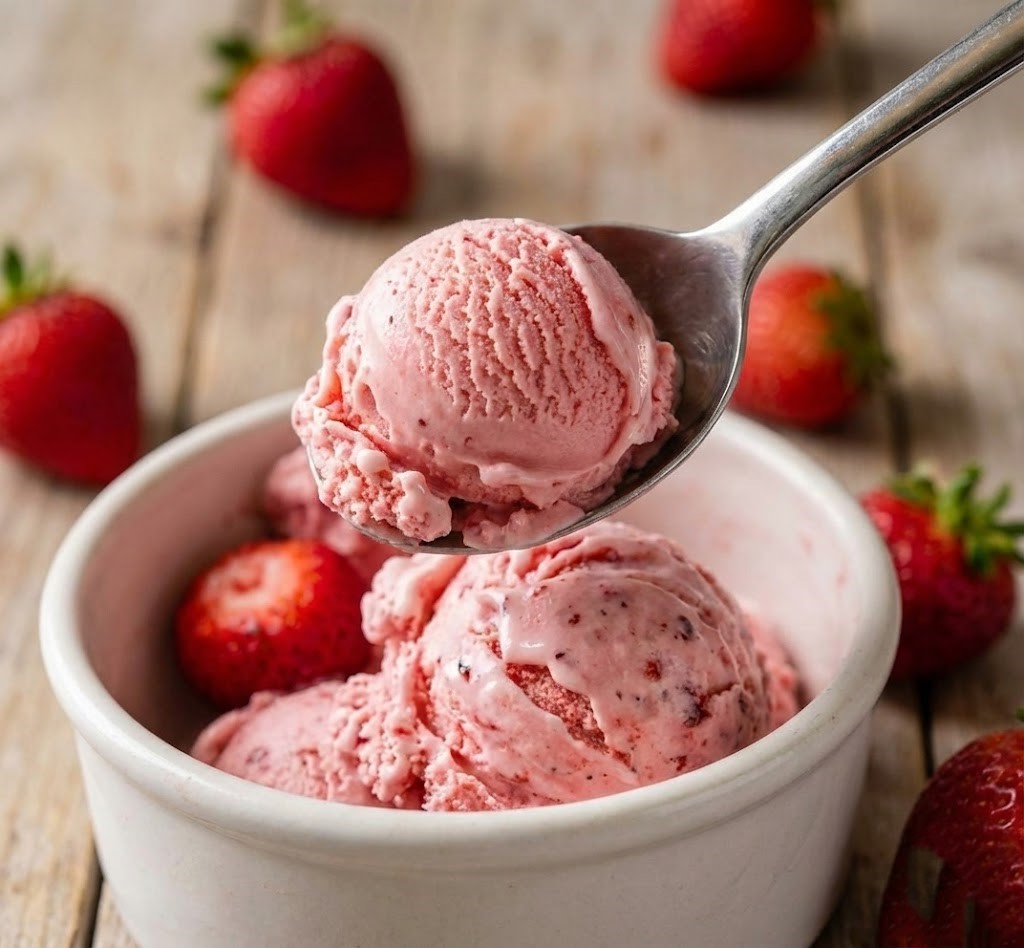
Transfer the churned ice cream into a freezer-safe container with a tight lid. Spread it evenly and cover the top to prevent ice crystals from forming.
Place it in the freezer for 4 to 6 hours or until completely firm. Then scoop, enjoy, and share with anyone who deserves a sweet treat.
Serving Suggestions
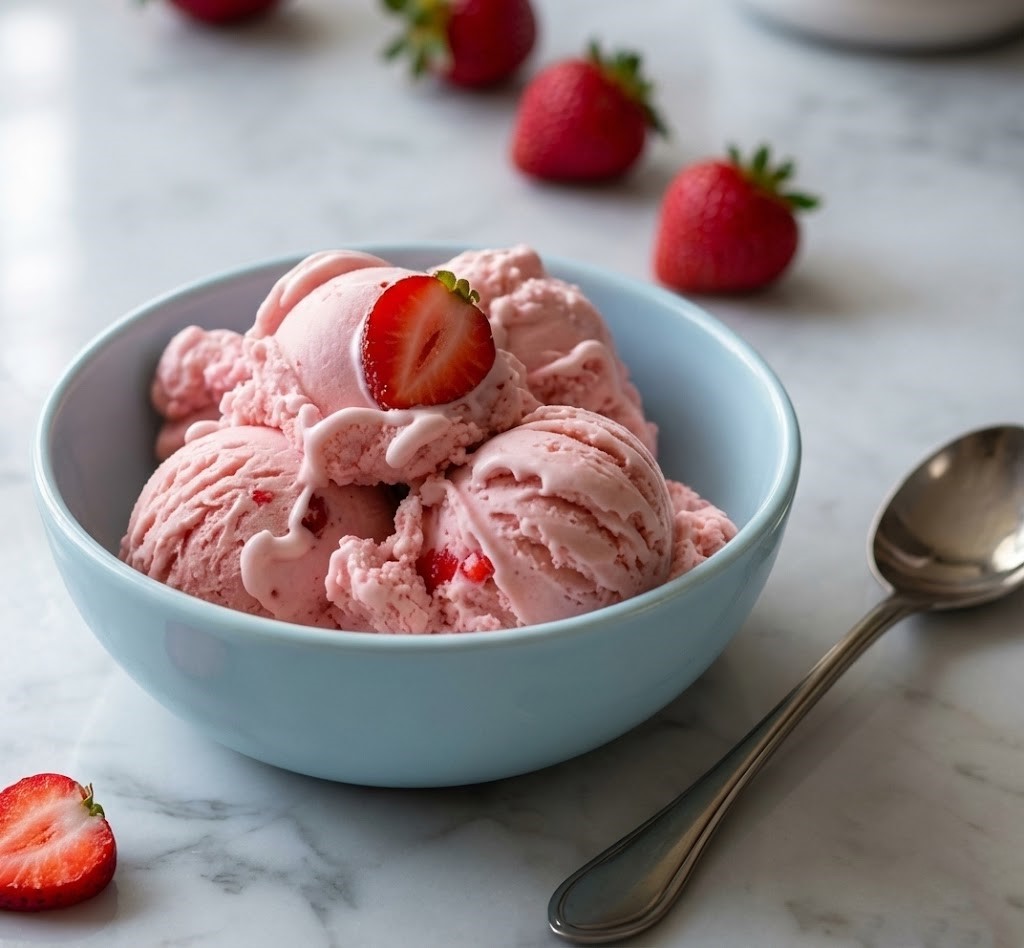
Homemade Strawberry Ice Cream tastes amazing on its own, but pairing it with the right foods makes it even better. I love serving it in chilled bowls so every bite stays cold and refreshing.
You can scoop it into crunchy waffle cones for a fun and classic treat that feels nostalgic and comforting. Adding fresh sliced strawberries on top also enhances the fruity flavor beautifully.
If you want something more special, serve it with warm brownies because the hot-and-cold combo is irresistible. You can even drizzle a little chocolate or strawberry syrup for extra sweetness.
Another great idea is pairing it with shortbread cookies for a soft and buttery contrast. The ice cream also tastes great in milkshakes, floats, and even ice cream sandwiches.
Meal Prep Tips: Can We Make Homemade Strawberry Ice Cream in Advance?
Yes, you can easily make this delicious ice cream in advance and enjoy it whenever you want. I love preparing it a day earlier because the flavor becomes stronger and more balanced.
If you plan ahead, just store the mixture in a freezer-safe airtight container to prevent freezer burn. This helps keep the texture creamy and smooth without ice crystals forming.
You can also prepare the strawberry puree a day before and refrigerate it until needed. This makes the final blending step quicker and more convenient when you’re ready to churn.
If you don’t have time to churn immediately, store the base mixture covered in the refrigerator for up to 24 hours. Keeping it chilled will help the ice cream freeze better during churning.
Cooking Tips
Always use ripe and sweet strawberries because they give the best flavor and color naturally. If your strawberries aren’t very sweet, add a little extra sugar to balance the taste.
Chill your mixing bowl before preparing the ice cream base for an even smoother texture. This helps keep everything cold and prevents the mixture from separating.
Make sure your sugar dissolves completely in the milk and cream so the final texture isn’t grainy. Stir slowly and patiently until you feel no crystals at the bottom.
If you want a brighter color, avoid food coloring and instead add a small spoon of strawberry jam. This enhances both sweetness and color without changing the texture.
Variations of Homemade Strawberry Ice Cream
You can turn this simple recipe into many fun variations depending on your taste. One popular twist is adding chunks of strawberries for a more textured and fruity scoop.
You can also swirl in homemade strawberry sauce for a richer flavor and a beautiful pattern. This makes the ice cream look bakery-style and even more tempting.
If you like chocolate, mix in small chocolate chips or shaved chocolate for a delicious contrast. The slight bitterness of chocolate pairs wonderfully with the sweetness of strawberries.
For a more refreshing version, blend in a handful of fresh basil or mint with the puree. It gives the ice cream a bright and unique twist that feels fancy but simple.
Storage Instructions
Store your Homemade Strawberry Ice Cream in a freezer-safe airtight container to keep it fresh. I always press a layer of plastic wrap directly on top before closing the lid to prevent ice crystals.
Keep the container in the coldest part of the freezer instead of the door for the best texture. The door temperature changes often, which can make the ice cream melt and refreeze.
This ice cream stays fresh for up to two weeks if stored properly, though it rarely lasts that long. For the best flavor, try to enjoy it within the first week.
If it becomes too hard, let it sit on the counter for a few minutes so it softens naturally. Avoid microwaving because it melts unevenly and changes the texture.
Recipe FAQs
Why isn’t my ice cream creamy?
Your mixture might not have been cold enough before churning, which affects texture. Make sure it chills for at least an hour before placing it in the machine.
Another reason could be low-fat ingredients because fat adds creaminess. Always use heavy cream for the richest results.
Can I make this without an ice cream maker?
Yes, you can use the no-churn method by whipping the cream and folding it into the mixture. It won’t be as airy as churned ice cream, but it still tastes amazing.
Freeze this mixture in a container and stir it every hour for the first three hours. This helps break up ice crystals and improve texture.
Can I reduce the sugar?
Yes, you can reduce it slightly, but keep in mind sugar also affects texture. Too little sugar may make the ice cream icy and hard.
Taste your strawberries first because sweeter berries may allow you to cut back on sugar. Adjust according to how sweet you want the final result.
Can I use frozen strawberries?
Frozen strawberries work really well and can even give a stronger flavor. Thaw them fully and drain excess water so the ice cream doesn’t become icy.
You can also cook them slightly to make the puree thicker and sweeter. This helps improve texture if the fruit is not very ripe.
Can I add mix-ins?
Yes, you can add nuts, chocolate, cookie pieces, or fruit chunks. Just fold them in after churning but before freezing.
Avoid adding too many mix-ins because they can affect freezing and texture. A small handful is usually perfect.
Conclusion
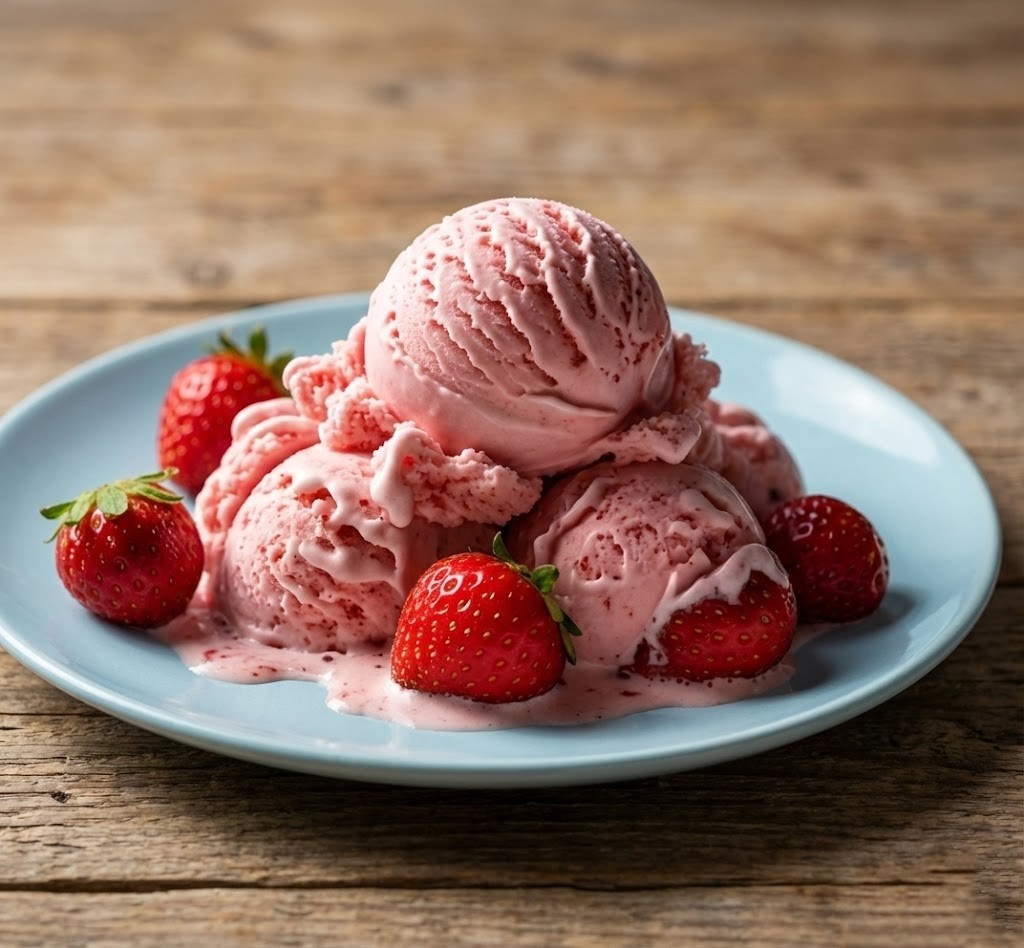
Homemade Strawberry Ice Cream is one of those desserts that feels simple but incredibly special. I love how easy it is to make and how fresh and fruity it tastes in every scoop.
This recipe is perfect for summer days, family gatherings, or anytime you want a cold treat made with real ingredients. Making it at home gives you full control over sweetness, texture, and flavor.
You can enjoy it in cones, bowls, desserts, or even blended into shakes. It truly brings a little joy and comfort to your kitchen with every batch you make.
I hope you try this recipe soon and enjoy sharing it with the people you love. There’s nothing better than a homemade dessert that brings smiles with every bite.